

As a seasoned supplier in the metal food packaging industry, I understand the growing importance of sustainability and the need to make the most of our resources. Reusing metal food packaging is not only an environmentally friendly choice but also a cost - effective one. In this blog, I'll share some detailed steps on how to clean metal food packaging for reuse.
Step 1: Empty the Packaging Completely
The first and most obvious step is to ensure that the metal food packaging is empty. Whether it's a Canned Food Packaging, a Food Grade Metal Cans, or a Food Safe Bucket, you need to remove all the food contents. For cans, use a can opener to open them carefully. If there are any remaining food bits stuck to the inside, you can use a spoon or a spatula to scrape them out. For larger containers like food - safe buckets, pour out the contents and then use a brush to dislodge any stubborn food particles.
Step 2: Rinse with Warm Water
After emptying the packaging, give it a thorough rinse with warm water. Warm water helps to break down grease and food residues more effectively than cold water. Hold the packaging under running water and let the water flow over all the surfaces, both inside and outside. You can also use a hose if you're dealing with larger containers. Make sure to rinse away all the loose food particles and any visible dirt. This initial rinse is a crucial pre - cleaning step that prepares the packaging for the more intensive cleaning process.
Step 3: Prepare a Cleaning Solution
To create an effective cleaning solution, you can use a mild dish soap. Fill a sink or a large container with warm water and add a few drops of dish soap. The amount of soap depends on the size of the container and the level of dirt on the packaging. For small cans, a couple of drops are usually sufficient, while larger buckets may require a bit more. Dish soap is gentle enough not to damage the metal surface but strong enough to cut through grease and grime.
Step 4: Soak the Packaging
Place the metal food packaging in the soapy water and let it soak for at least 15 - 20 minutes. Soaking allows the cleaning solution to penetrate and loosen the stubborn food residues and stains. During this time, the soap molecules work to break down the grease and dirt, making it easier to remove them later. If you're dealing with very dirty or greasy packaging, you can let it soak for a longer period, up to an hour.
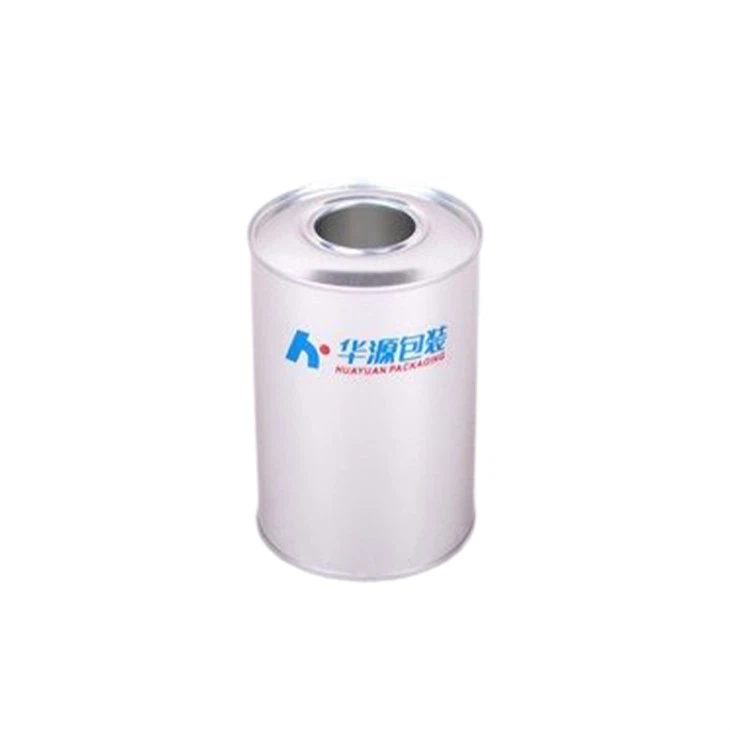

Step 5: Scrub the Packaging
After soaking, take a soft - bristled brush or a sponge. A soft - bristled brush is ideal for reaching into corners and crevices, while a sponge can be used for larger, flat surfaces. Dip the brush or sponge into the soapy water and start scrubbing the inside and outside of the packaging. Pay special attention to areas where food residues are likely to accumulate, such as the rims of cans and the bottom of buckets. Apply gentle pressure while scrubbing to avoid scratching the metal surface. For stubborn stains, you may need to scrub a bit harder, but be careful not to overdo it.
Step 6: Check for Residues
Once you've finished scrubbing, rinse the packaging again with warm water to remove all the soap and loosened dirt. Hold the packaging up to the light and check for any remaining food residues or stains. If you spot any, repeat the soaking and scrubbing process in the soapy water until the packaging is completely clean. It's important to ensure that there are no residues left, as they can attract bacteria and affect the quality of the food if the packaging is reused.
Step 7: Sanitize the Packaging
After cleaning, it's essential to sanitize the metal food packaging to kill any remaining bacteria. You can create a sanitizing solution by mixing one tablespoon of bleach with one gallon of water. Make sure to wear gloves when handling the bleach solution. Submerge the packaging in the sanitizing solution for at least two minutes. This will help to eliminate any harmful microorganisms that may be present on the surface. After sanitizing, rinse the packaging thoroughly with clean water to remove any traces of bleach.
Step 8: Dry the Packaging
Once the packaging is clean and sanitized, dry it completely. You can use a clean towel to pat it dry or let it air - dry. Make sure that there is no moisture left inside the packaging, as moisture can lead to rusting, especially in metal containers. For larger containers, you can prop them open to allow air to circulate and speed up the drying process.
Step 9: Inspect for Damage
Before reusing the metal food packaging, inspect it for any signs of damage. Check for dents, scratches, or rust spots. Minor dents and scratches may not necessarily render the packaging unusable, but if the damage is severe, it may affect the integrity of the container and the safety of the food. If you notice any rust spots, you can try to remove them using a rust remover, but if the rust has penetrated deeply, it's best to discard the packaging.
Step 10: Store the Clean Packaging
Once the packaging is clean, dry, and inspected, store it in a clean and dry place. You can stack cans neatly in a pantry or store larger containers on a shelf. Make sure to keep the packaging away from sources of moisture and heat, as these can cause damage over time.
Reusing metal food packaging is a great way to reduce waste and contribute to a more sustainable future. At our company, we are committed to providing high - quality Canned Food Packaging, Food Grade Metal Cans, and Food Safe Bucket that are suitable for reuse. If you're interested in purchasing our metal food packaging products or have any questions about cleaning and reusing them, we encourage you to contact us for a procurement discussion. We look forward to serving your packaging needs.
References
- "Food Packaging: Principles and Practice" by Cheryl R. Daniels and Elizabeth S. Brandl
- "Handbook of Food Packaging Technology" edited by Desmond O. McDowell